

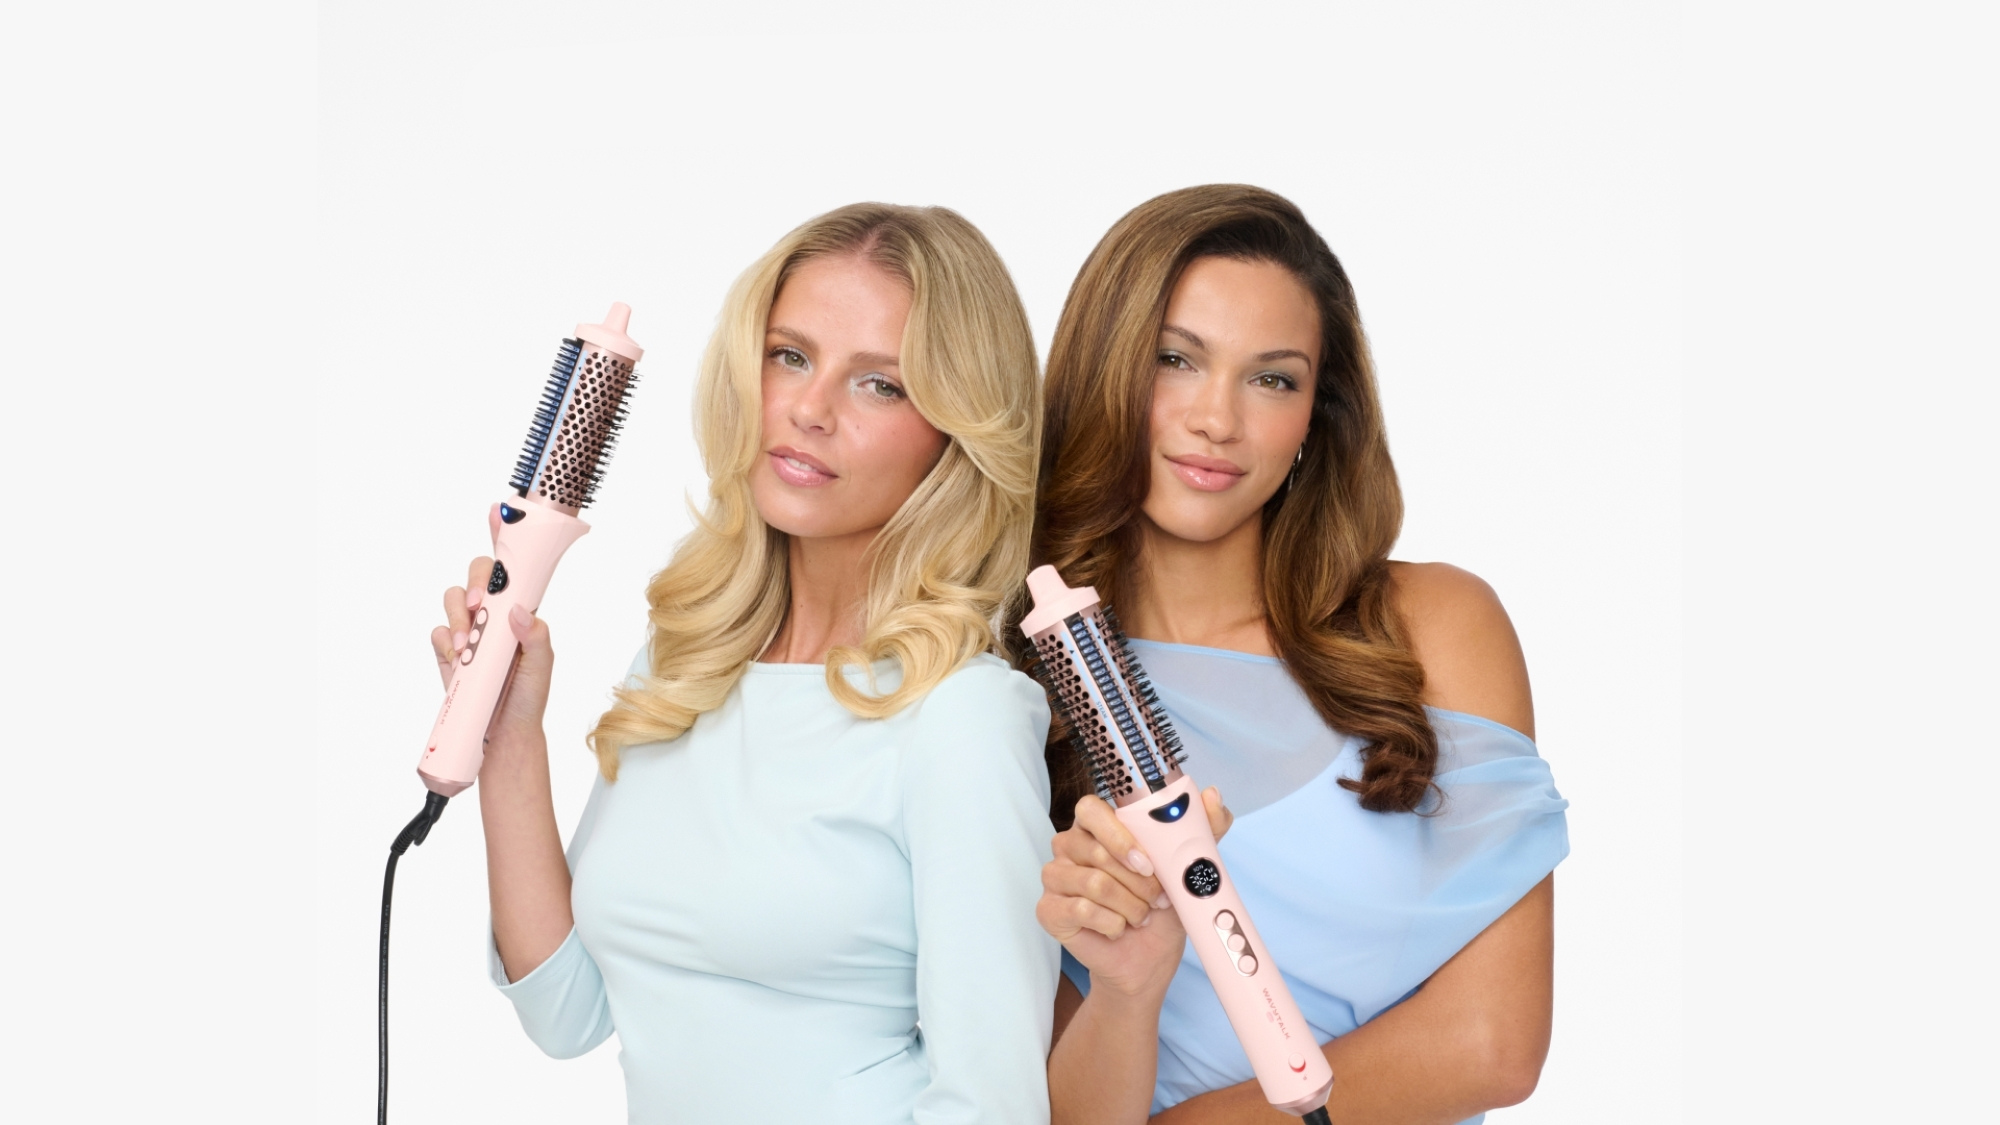
There is a particular kind of smoothness that comes from a professional blowout, the way the hair moves together, the shine that catches the light, the fullness that doesn’t collapse by noon. For a long time, that finish was considered something only a salon could deliver. The difference was never mysterious talent; it was technique combined with proper tools. Mastering the at home blowout is genuinely achievable and it starts with understanding what actually produces the result rather than just going through the motions with whatever is at hand. Wavytalk designs tools built for exactly this kind of elevated home styling.
The Foundation Prep Work Before the Heat
The quality of a blowout is largely determined before the blow dryer is ever switched on. Hair that isn’t properly prepped will fight the process at every step, leading to frizz, flyaways and a finish that falls apart within hours. After washing, squeezing excess water out gently, never wringing, which disrupts the cuticle and then applying a lightweight volumizing mousse or blowout cream to damp hair sets the canvas. A heat protectant follows immediately, worked through from mid-lengths to ends where the hair is oldest and most porous. Rough-drying hair to about 80 percent dryness before reaching for a round brush removes the bulk of moisture quickly and makes the finishing section much more controlled. This step cuts down overall styling time and prevents overworking individual sections.
Choosing the Right Brush for Your Hair Type
Round brushes come in different barrel sizes and that size directly determines the outcome of the at home blowout. A smaller barrel, around one inch in diameter, creates tighter curls at the ends and works well for shorter hair or anyone adding a lot of curl to their style. Medium barrels in the one-and-a-half to two-inch range produce the classic blowout bend smooth through the lengths, with a soft outward or inward curl at the tips. Large barrels are best for long hair where the goal is body and movement rather than curl definition. Boar bristle or mixed bristle brushes grip and smooth the hair simultaneously, creating that polished tension that gives the blowout its signature sleek appearance. Natural bristles also distribute the hair’s own oils along the shaft as the brush passes through, which contributes to the shine that makes the style look intentional rather than accidental.
Heat, Tension and Direction
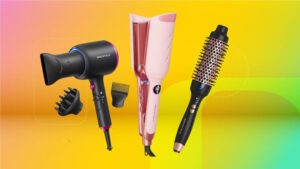
The at home blowout depends on three things working together heat to reshape the hair, tension to smooth it and airflow direction to seal the cuticle. The blow dryer nozzle should always point downward along the hair shaft, aiming upward at the cuticle is what causes frizz and roughness. Working in sections no wider than the brush barrel keeps control high and allows each section to be dried fully before moving on. The brush rolls through each section from root to tip while the dryer follows closely, keeping the airflow on the bristles rather than on loose hair. Finishing each section with a brief blast of cool air locks the shape in place. Wavytalk blow dryers and styling tools are built around these principles, making it easier to maintain the right technique throughout the process.
Getting Volume at the Root
Root volume is what separates a flat-looking blowout from one that has that lifted, full appearance. Lifting sections upward and directing heat at the root while rolling the brush away from the scalp builds the volume in while the hair is still warm. Allowing that section to cool while still lifted, by clipping it or holding it for a few seconds, sets the lift before it has a chance to fall. Alternating the direction of the lift on different sections (some toward the face, some away) creates the multidimensional fullness that styled hair has compared to hair that’s simply been dried flat. This is the step that most people skip when attempting an at home blowout because it takes patience, but it is what creates the most visible difference in the finished result. Wavytalk
Tools That Simplify the Process
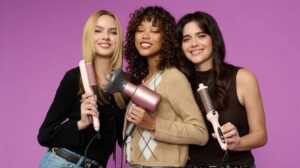
- Ionic blow dryers reduce drying time and cut frizz by emitting negative ions that break down water molecules faster
- Concentrator nozzle attachments direct airflow precisely to where it’s needed without disturbing surrounding sections
- Round brushes with vented barrels allow hot air to pass through for faster, more even drying
- Multi-heat and multi-speed settings give control over how aggressively heat is applied to fine versus thick hair
- Lightweight body construction prevents arm fatigue during longer styling sessions
Each of these features reduces the friction in the styling process, making it easier to maintain the focused attention that a good blowout requires. Wavytalk integrates these features into tools that are practical for regular home use, not just demonstration-grade equipment that looks impressive but doesn’t perform under everyday conditions.
Finishing and Making the Style Last
Once the blowout is complete, the finishing steps determine how long it holds. A lightweight shine serum smoothed over the surface adds gloss without weighing the hair down. Avoiding touching or ruffling the hair for at least thirty minutes after styling allows the bonds reshaped during the drying process to fully set. Sleeping with hair loosely braided or in a low silk-wrapped bun protects the blowout overnight and can extend the style by a day or more. When the style begins to flatten between washes, a few seconds on a low-heat setting with a large round brush along the surface brings it back without starting from scratch. Mastering the at home blowout is a skill that builds with each attempt and with Wavytalk, the tools are ready to support every stage of that process.